Sorrel is a small leafy green that is lemony in flavor (but not bitter) and nutritionally beneficial. It is easy to use and is readily available at Farmers Markets, especially in the spring. Sorrel adds mild lemon flavor to salads and soups, and is delicious as the main ingredient in sorrel soup.
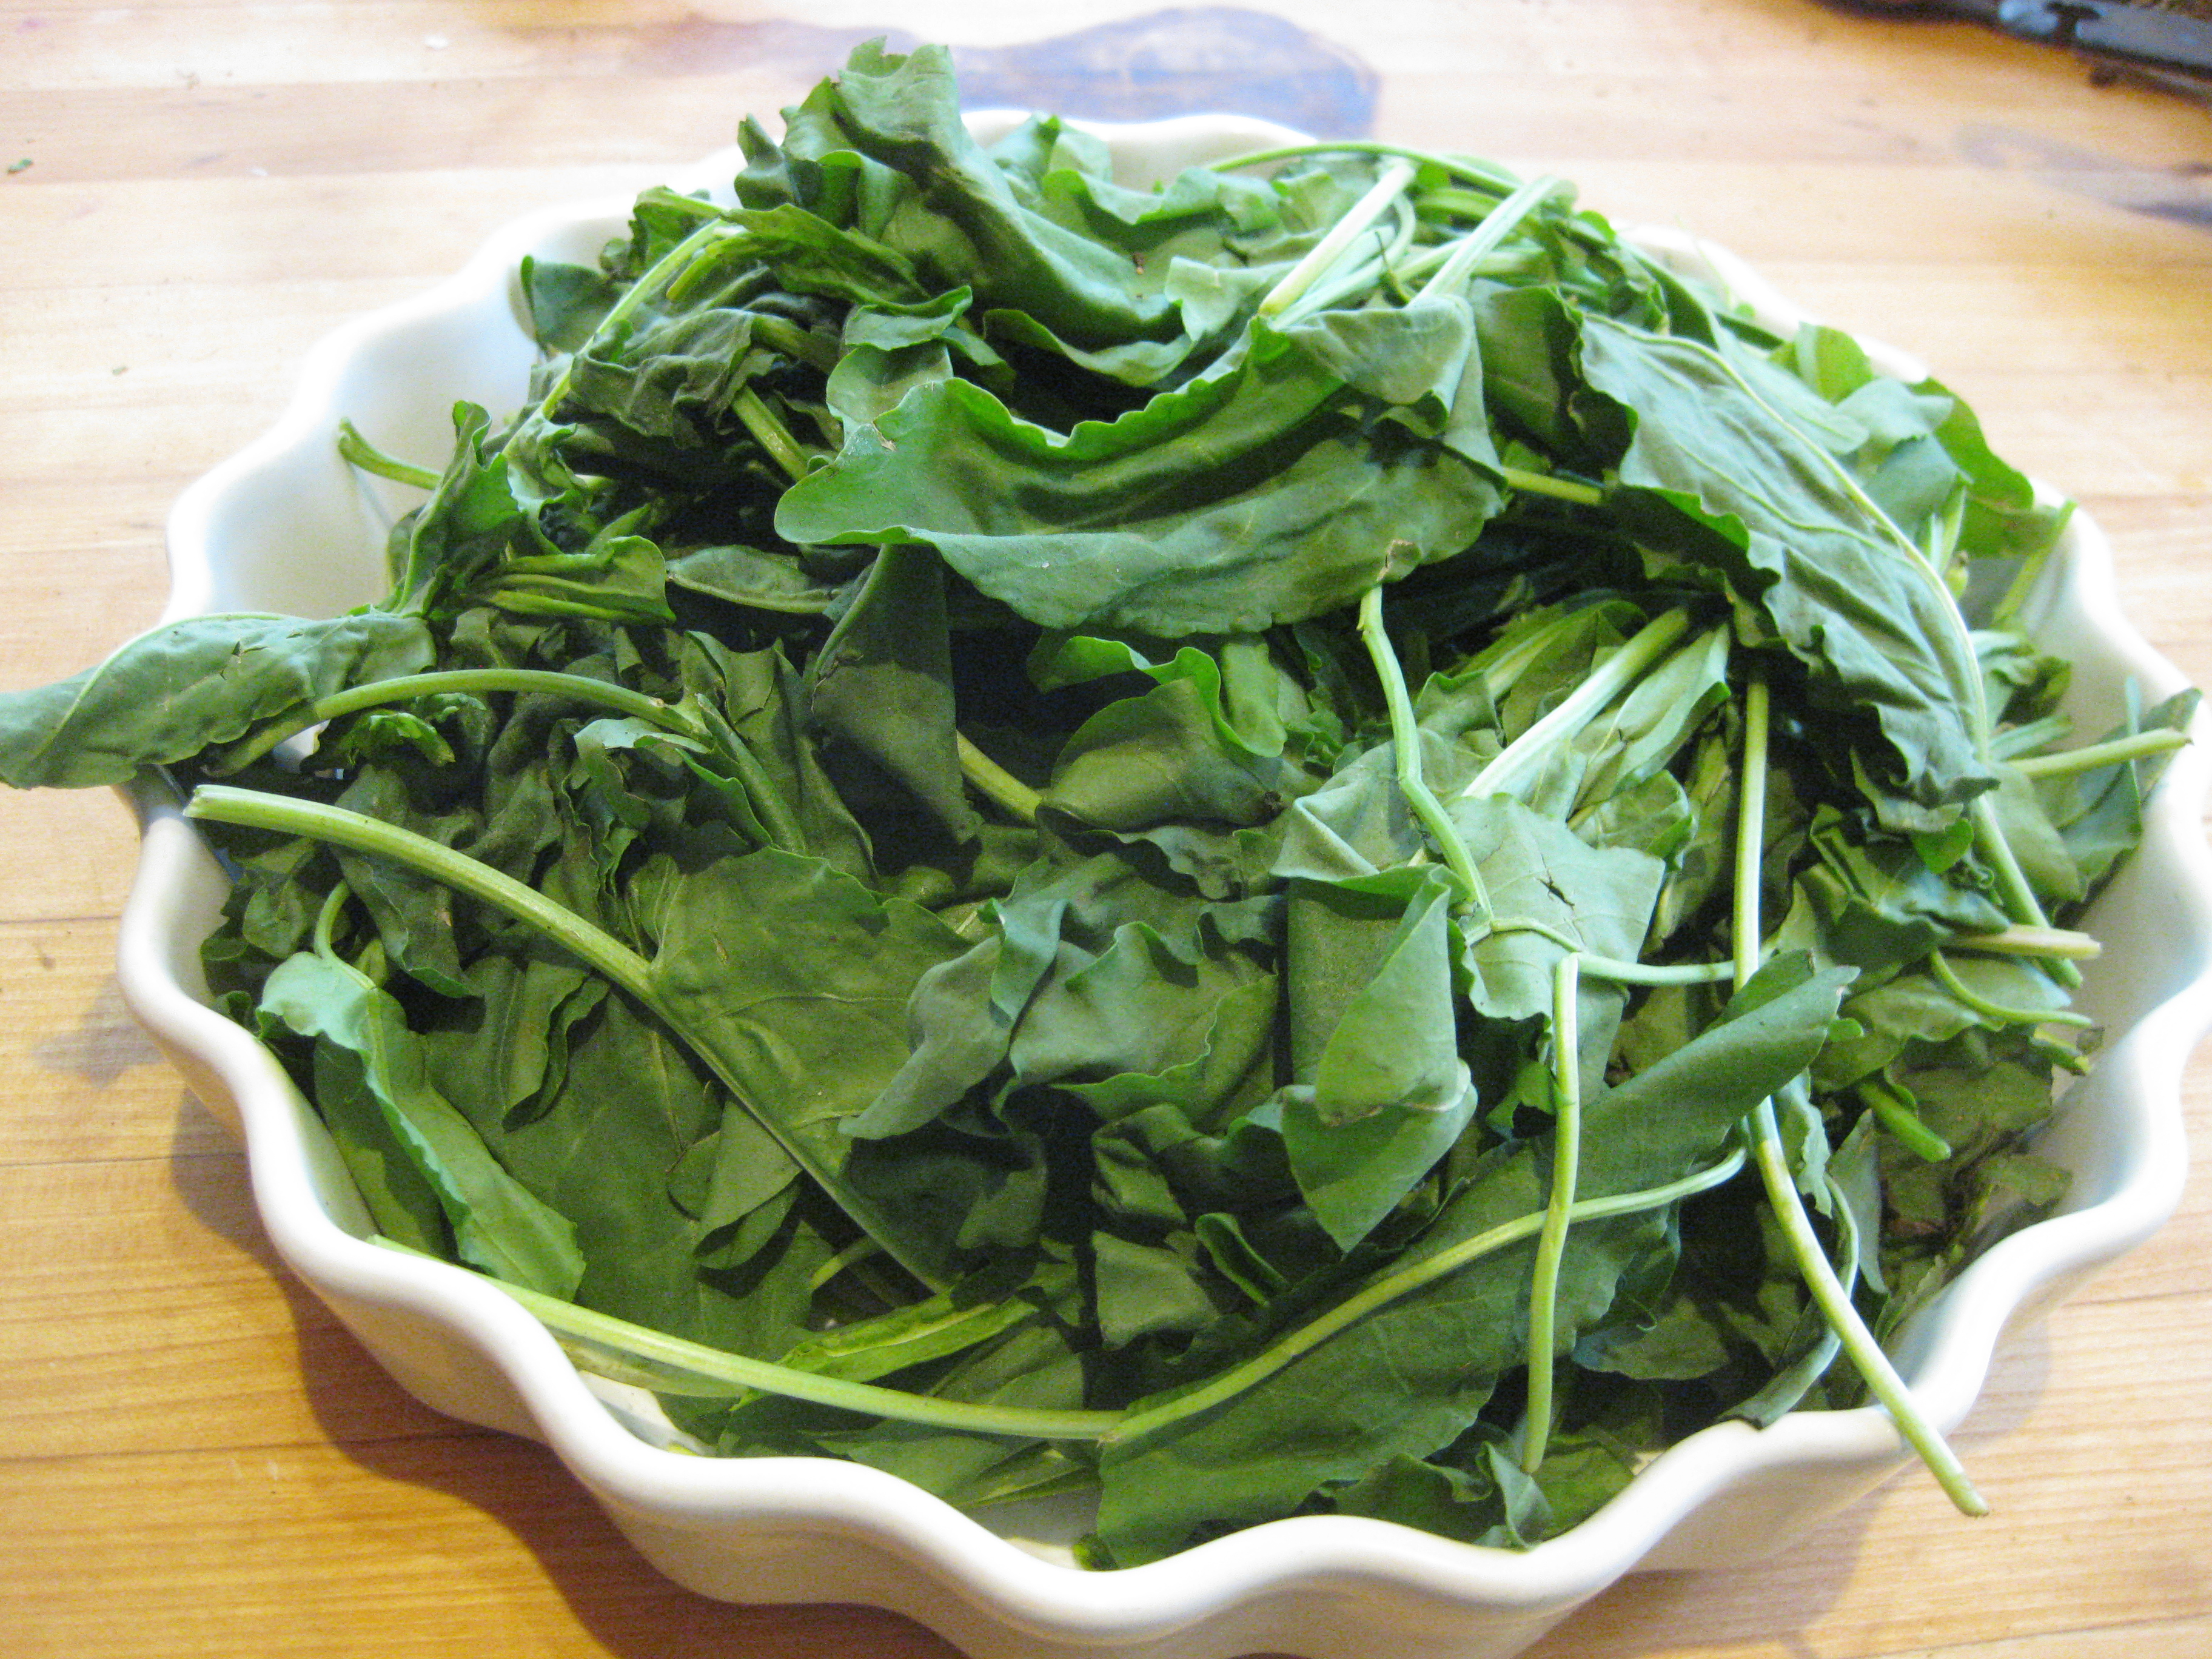
Cleaning the sorrel

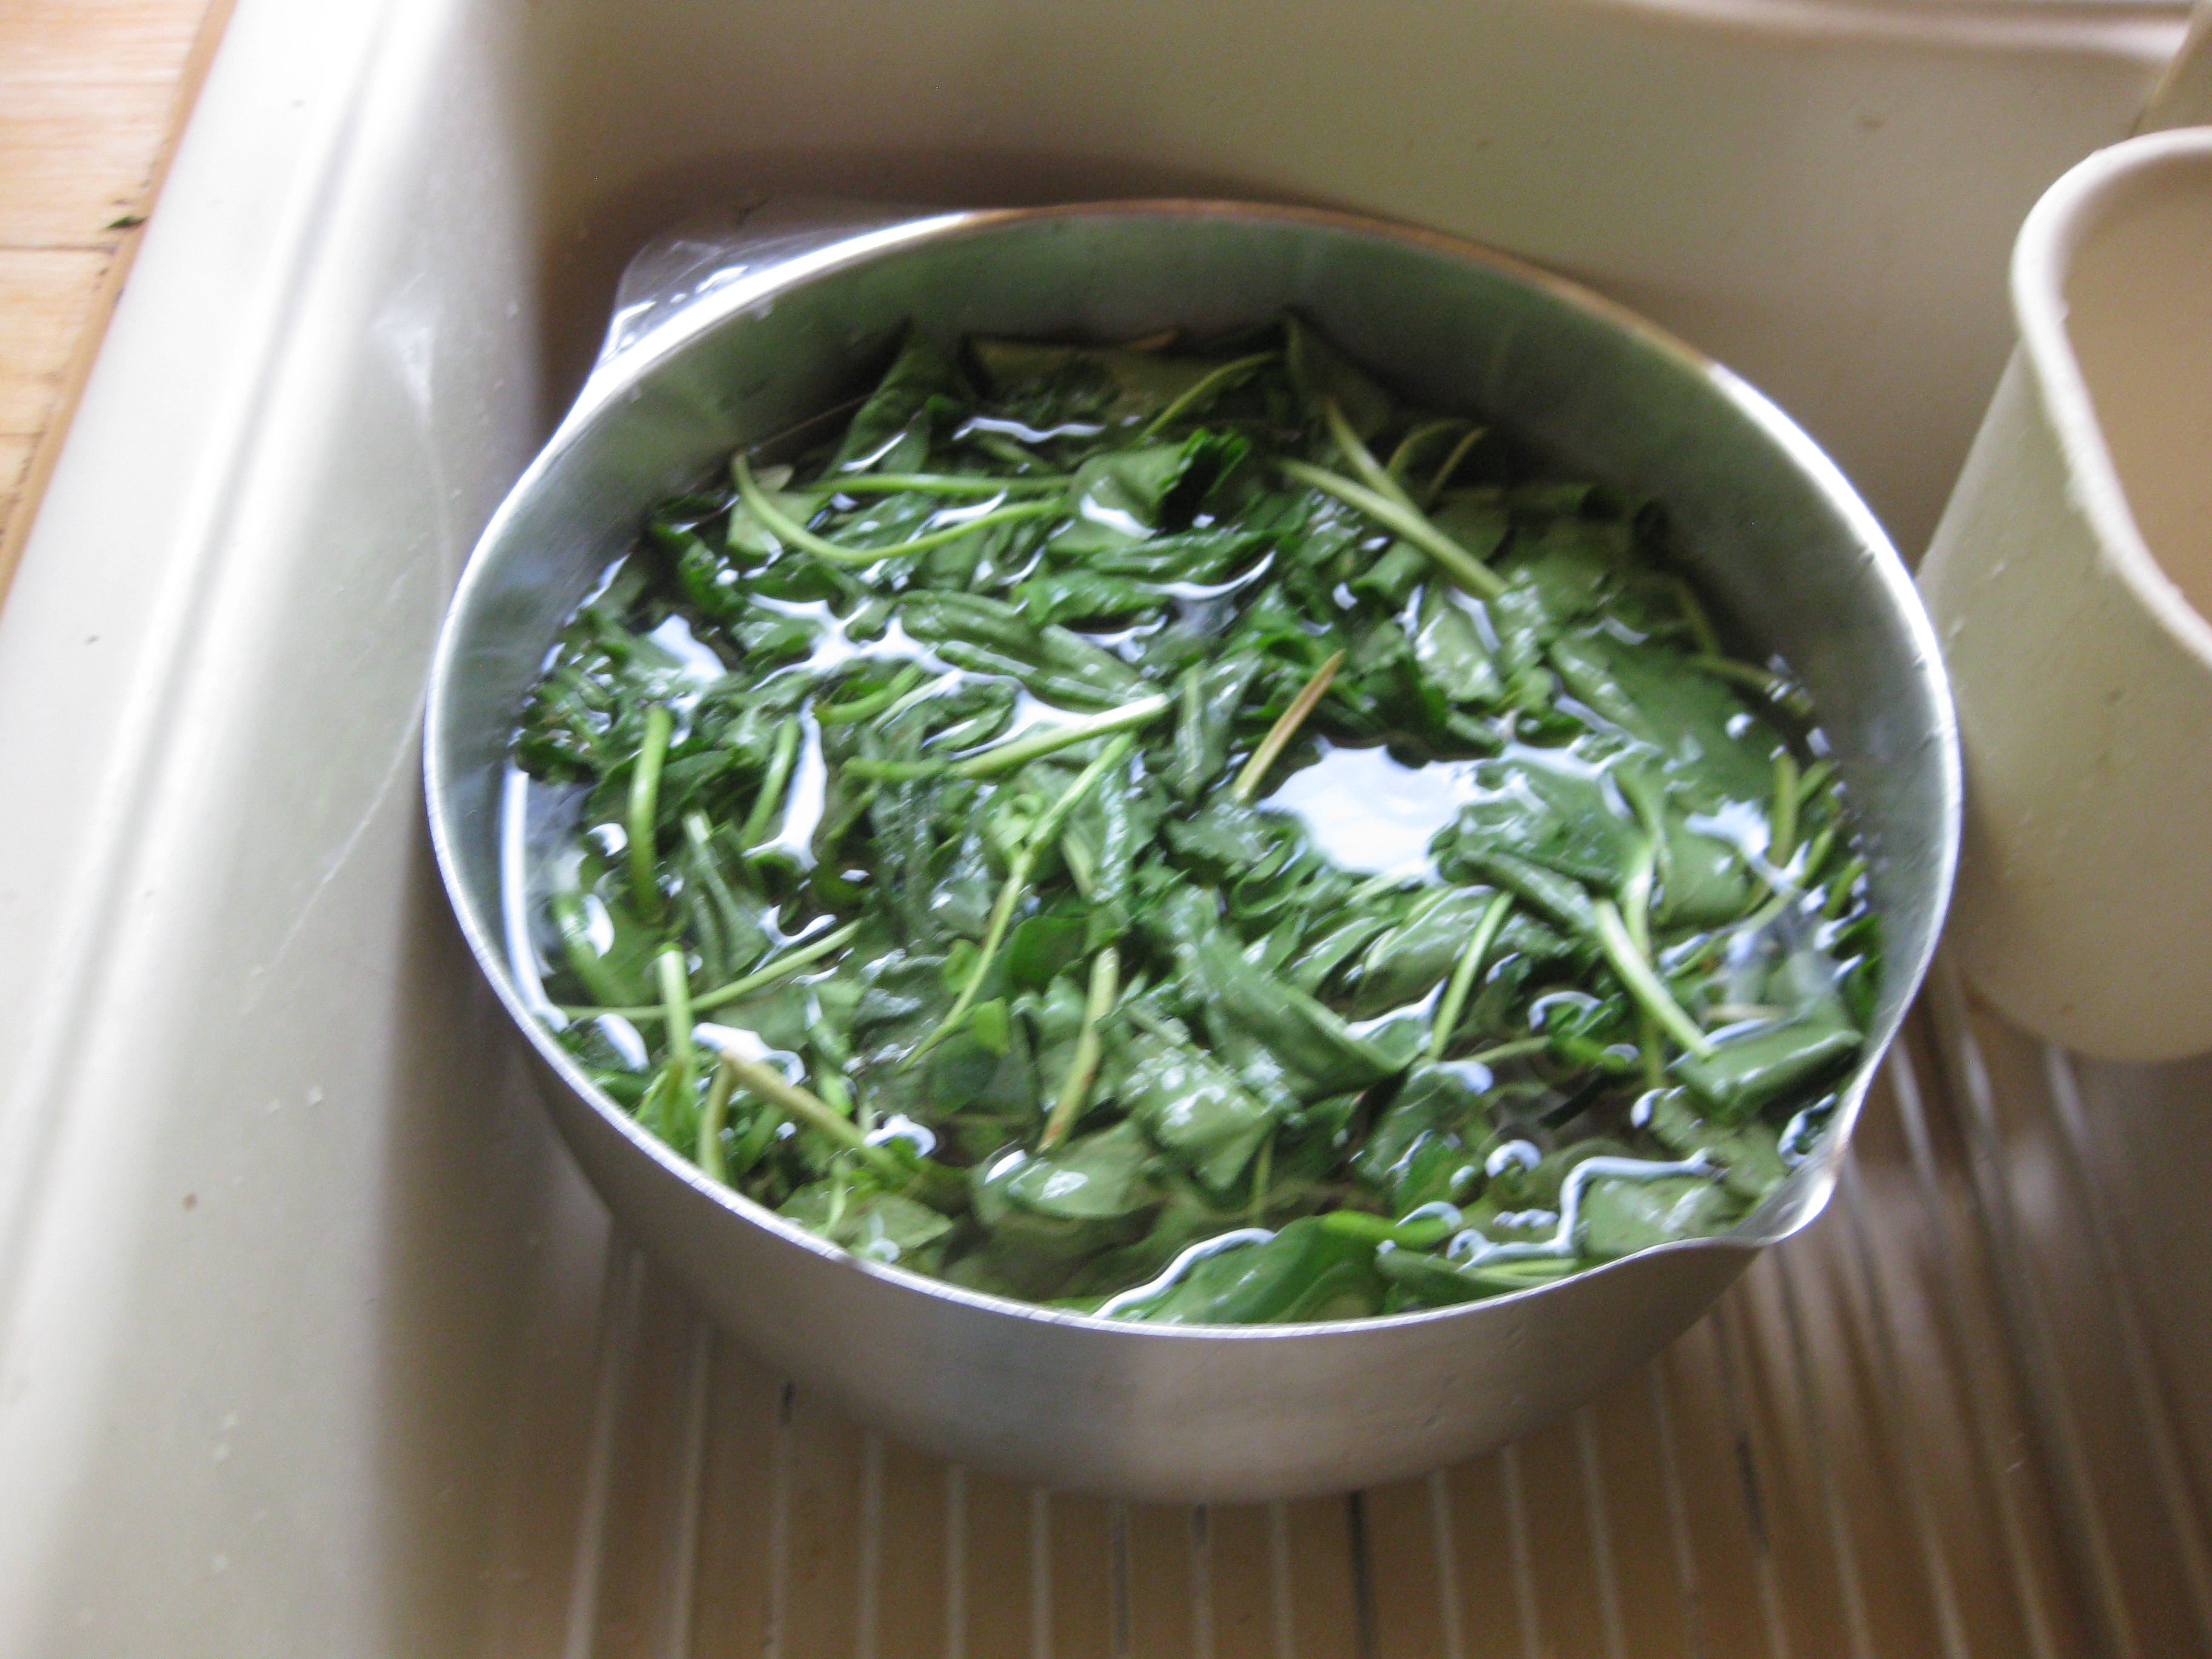
Sorrel can be bundled with dirt so cleaning it well is important. The stem and leaf are edible, and there is no need to snip off stem bottoms unless the sorrel is old or the stems are very dirty.
The best way to clean the sorrel is to fill a large bowl with water and 1 Tbsp vinegar and add the sorrel.

Let the sorrel sit for a few minutes in the vinegar water, then pour out the dirty water. Fill the bowl with water, swish the sorrel around, and pour out the dirty water. Repeat the washing until there is no more dirt. Pour the washed sorrel into a colander.
Ingredients
1 ½ Tbsp olive oil
1 medium onion, chopped
2-3 garlic cloves, chopped
1 large bunch sorrel (chopping is optional)
6 cups water or stock
Optional enhancing ingredients: 1 large potato chopped, 1 cup cooked chickpeas, ½ cup capers, or 1 egg, beaten—or a combination
Salt and pepper to taste
Steps
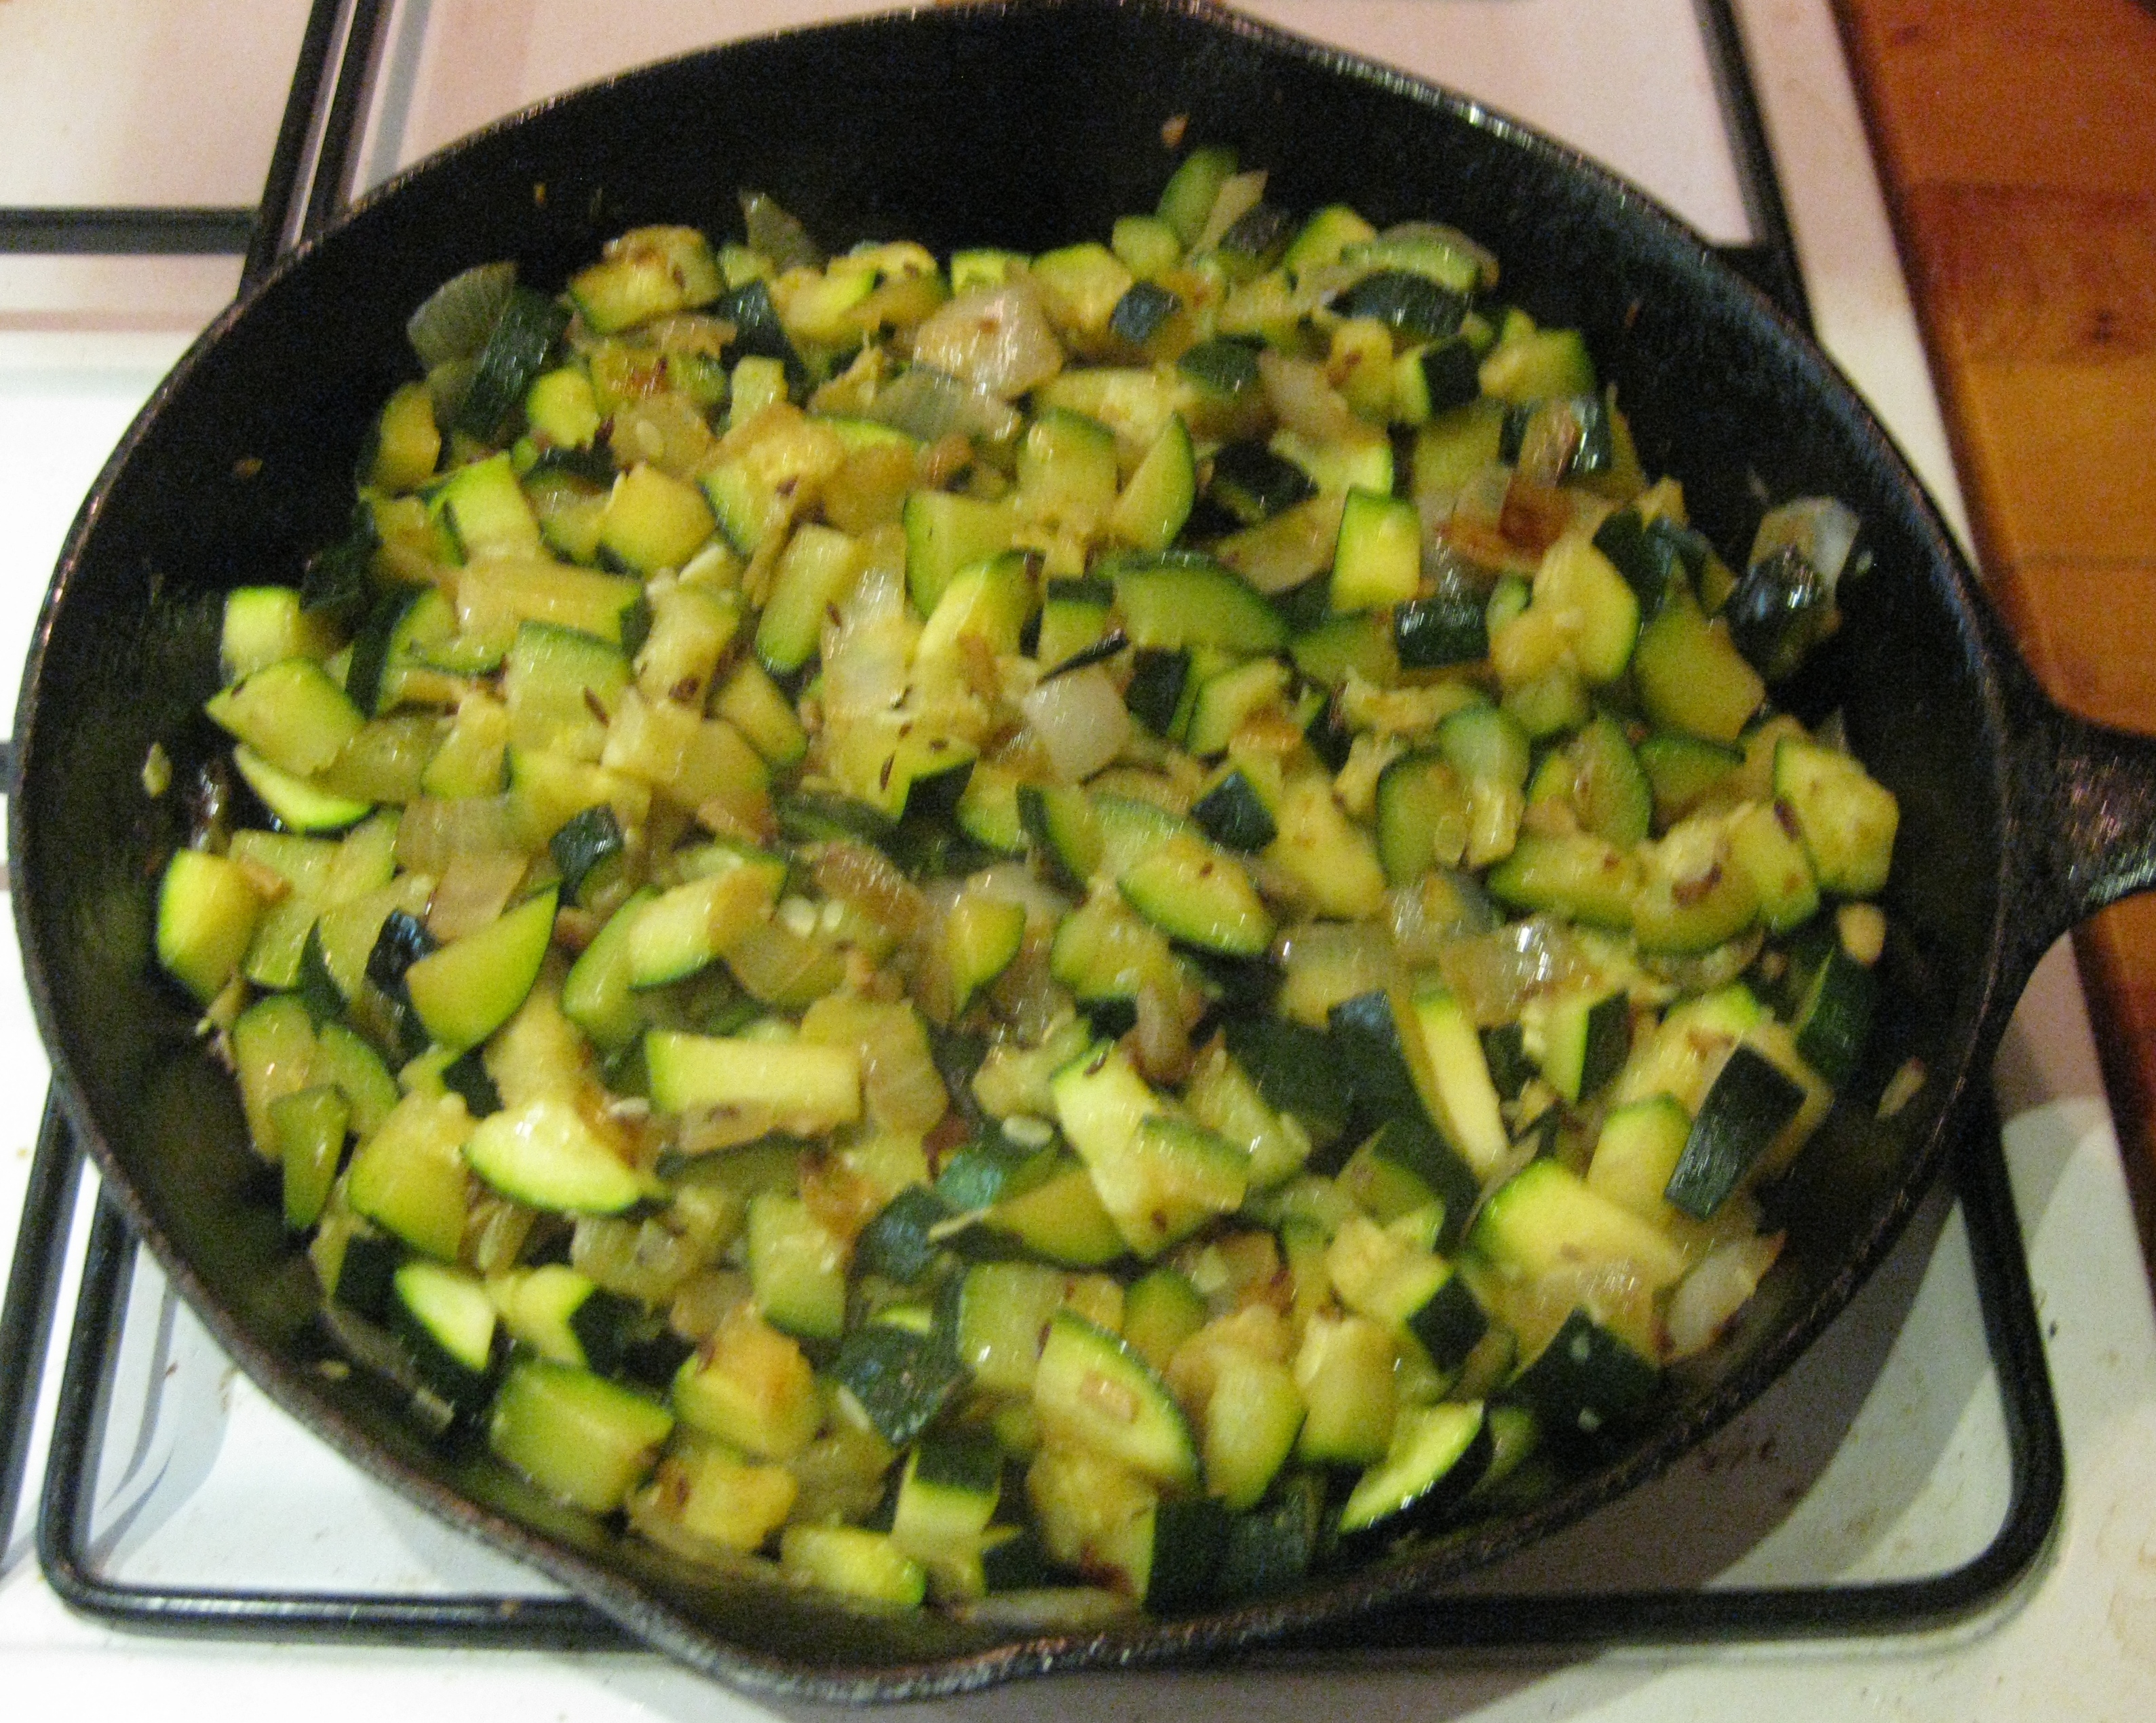
- In a large pot, heat the olive oil and then sauté the chopped onion until soft.
- Add the garlic and sauté for 2 minutes. Add the sorrel. If you are enhancing with the chopped potato, add it now.
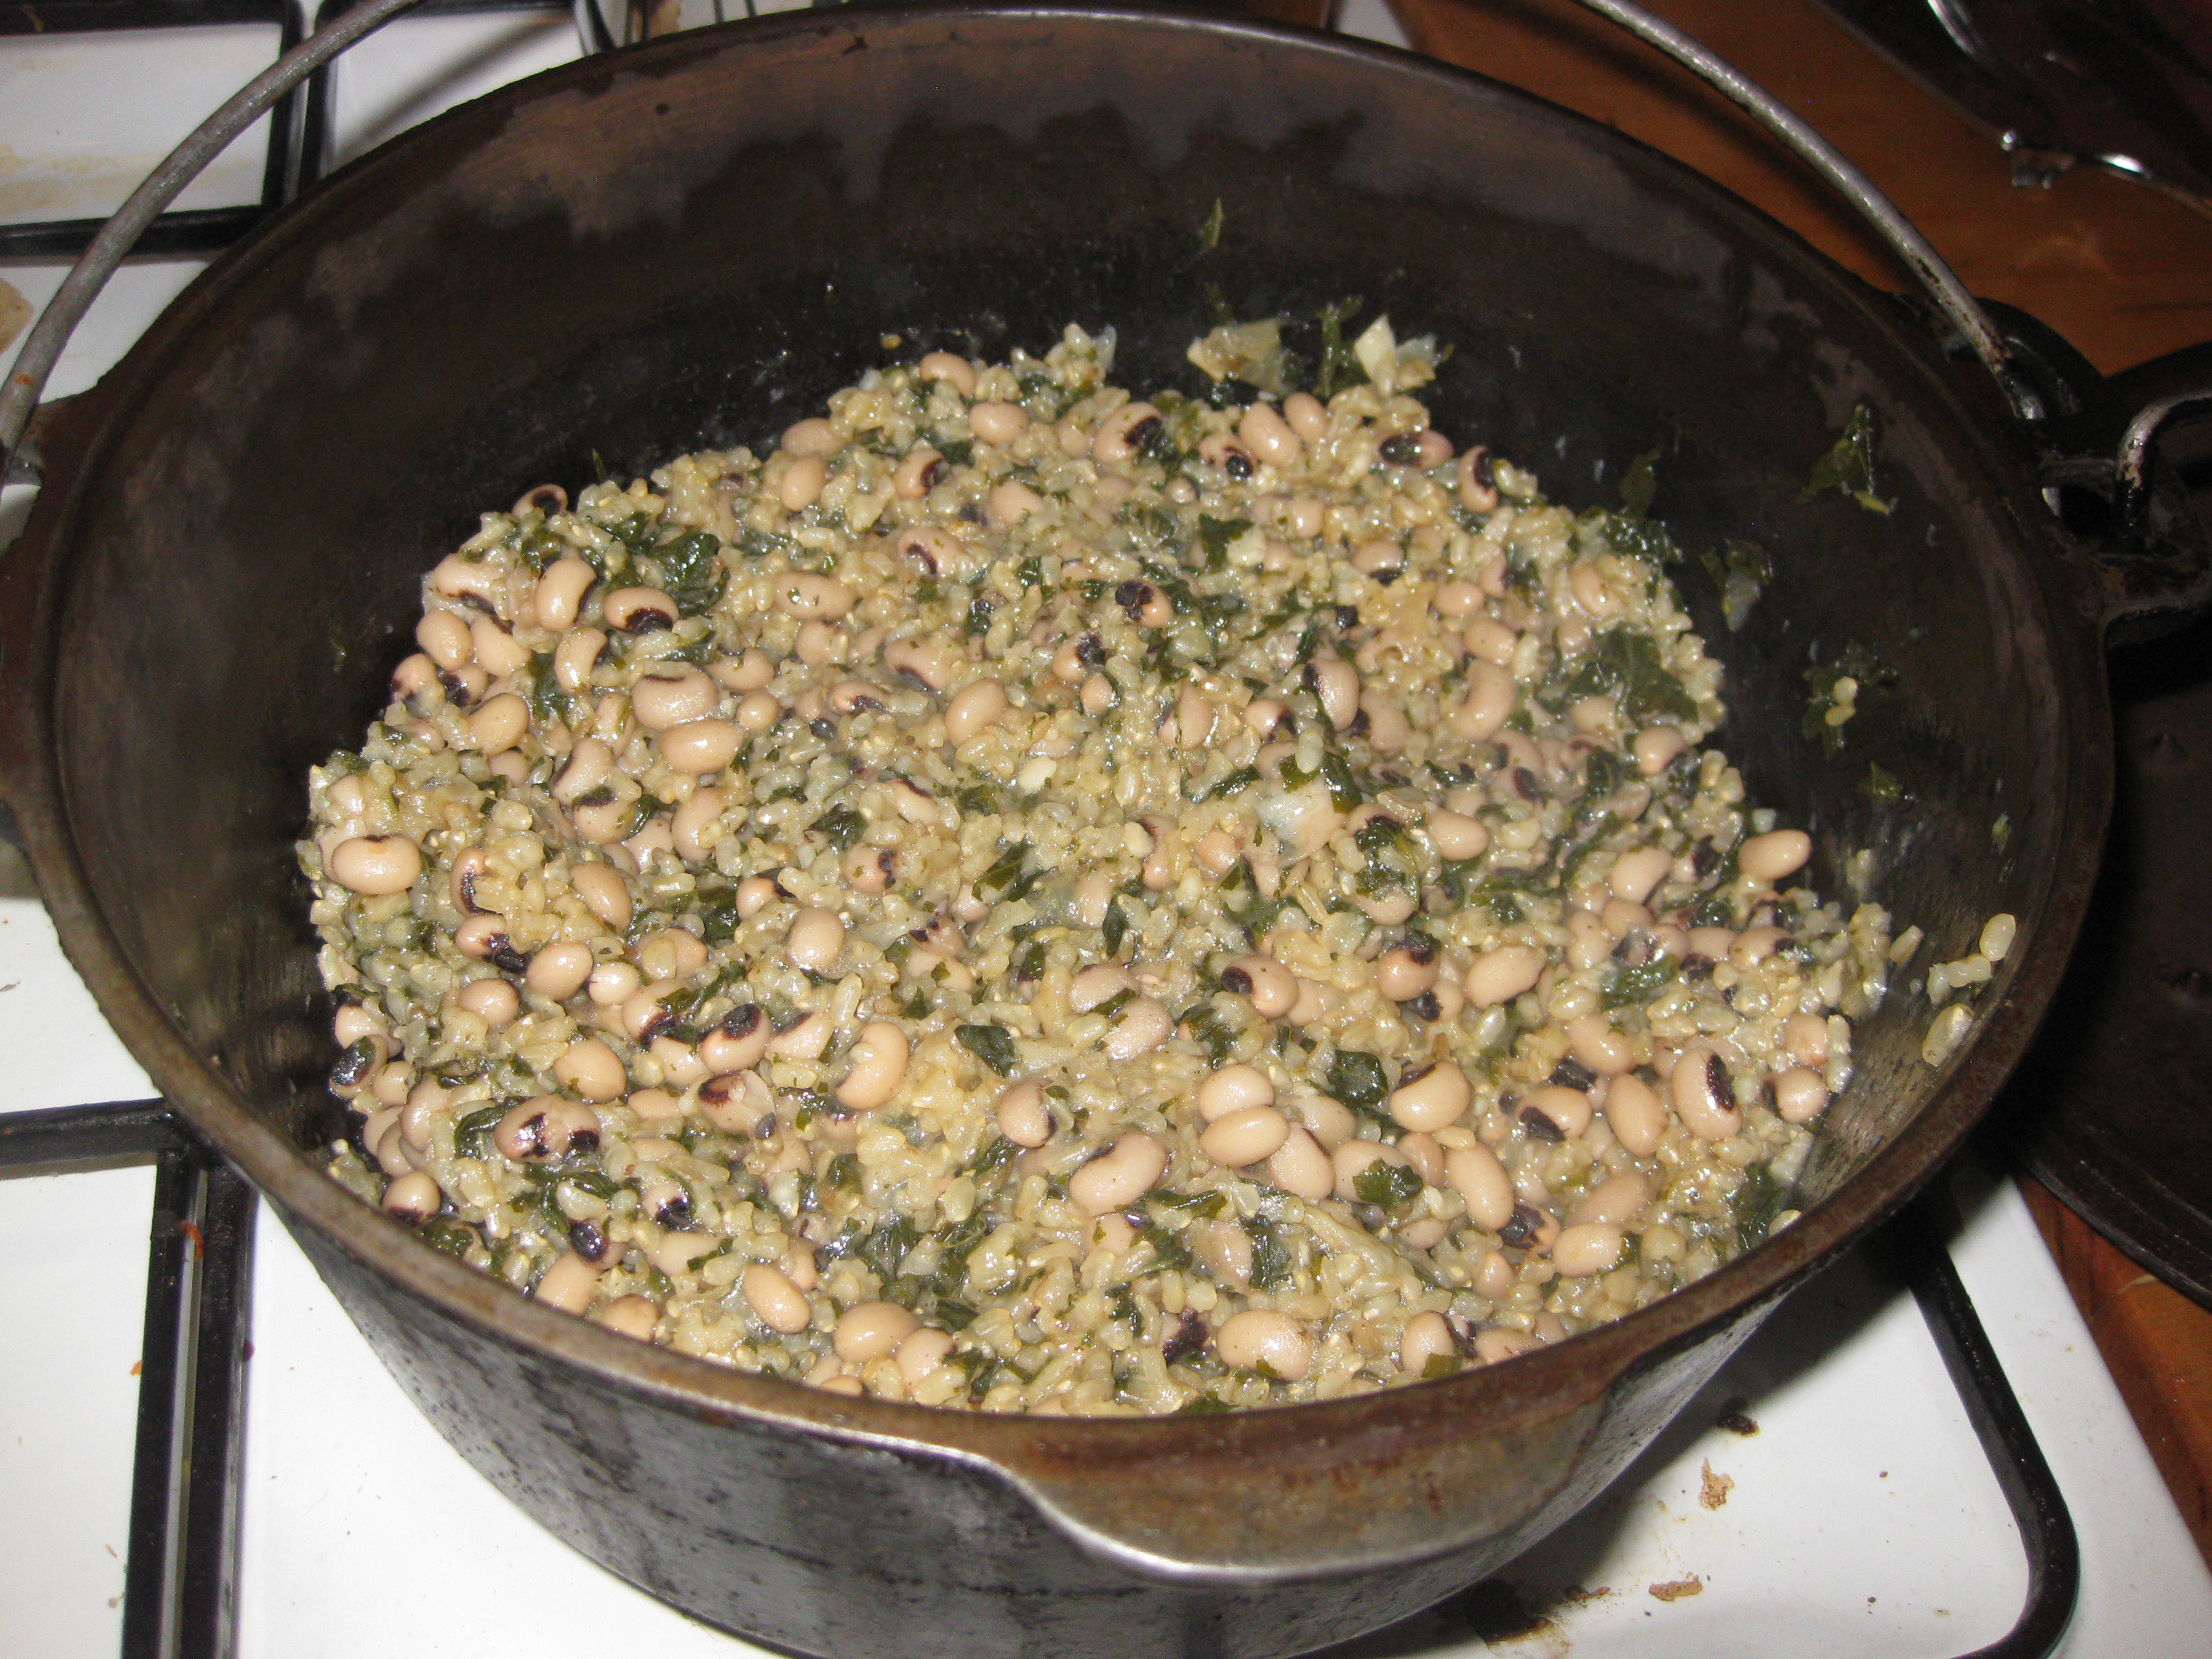
- Add the water or stock (I used 2 cups stock left over from the Lubiya and Molochiya stew https://yumtritiouseating.com/2015/04/28/lubiya-and-molochiya-stew/.
- Bring the soup to a boil, lower the heat to simmer, and cook for 15 minutes.
- Stir in the salt and pepper. If you are making sorrel-egg drop soup, slowly pour the beaten egg into the soup while constantly stirring.
- Remove from heat. If you are using the chickpeas and/or capers, add them now.
Servings: 6-8
Notes
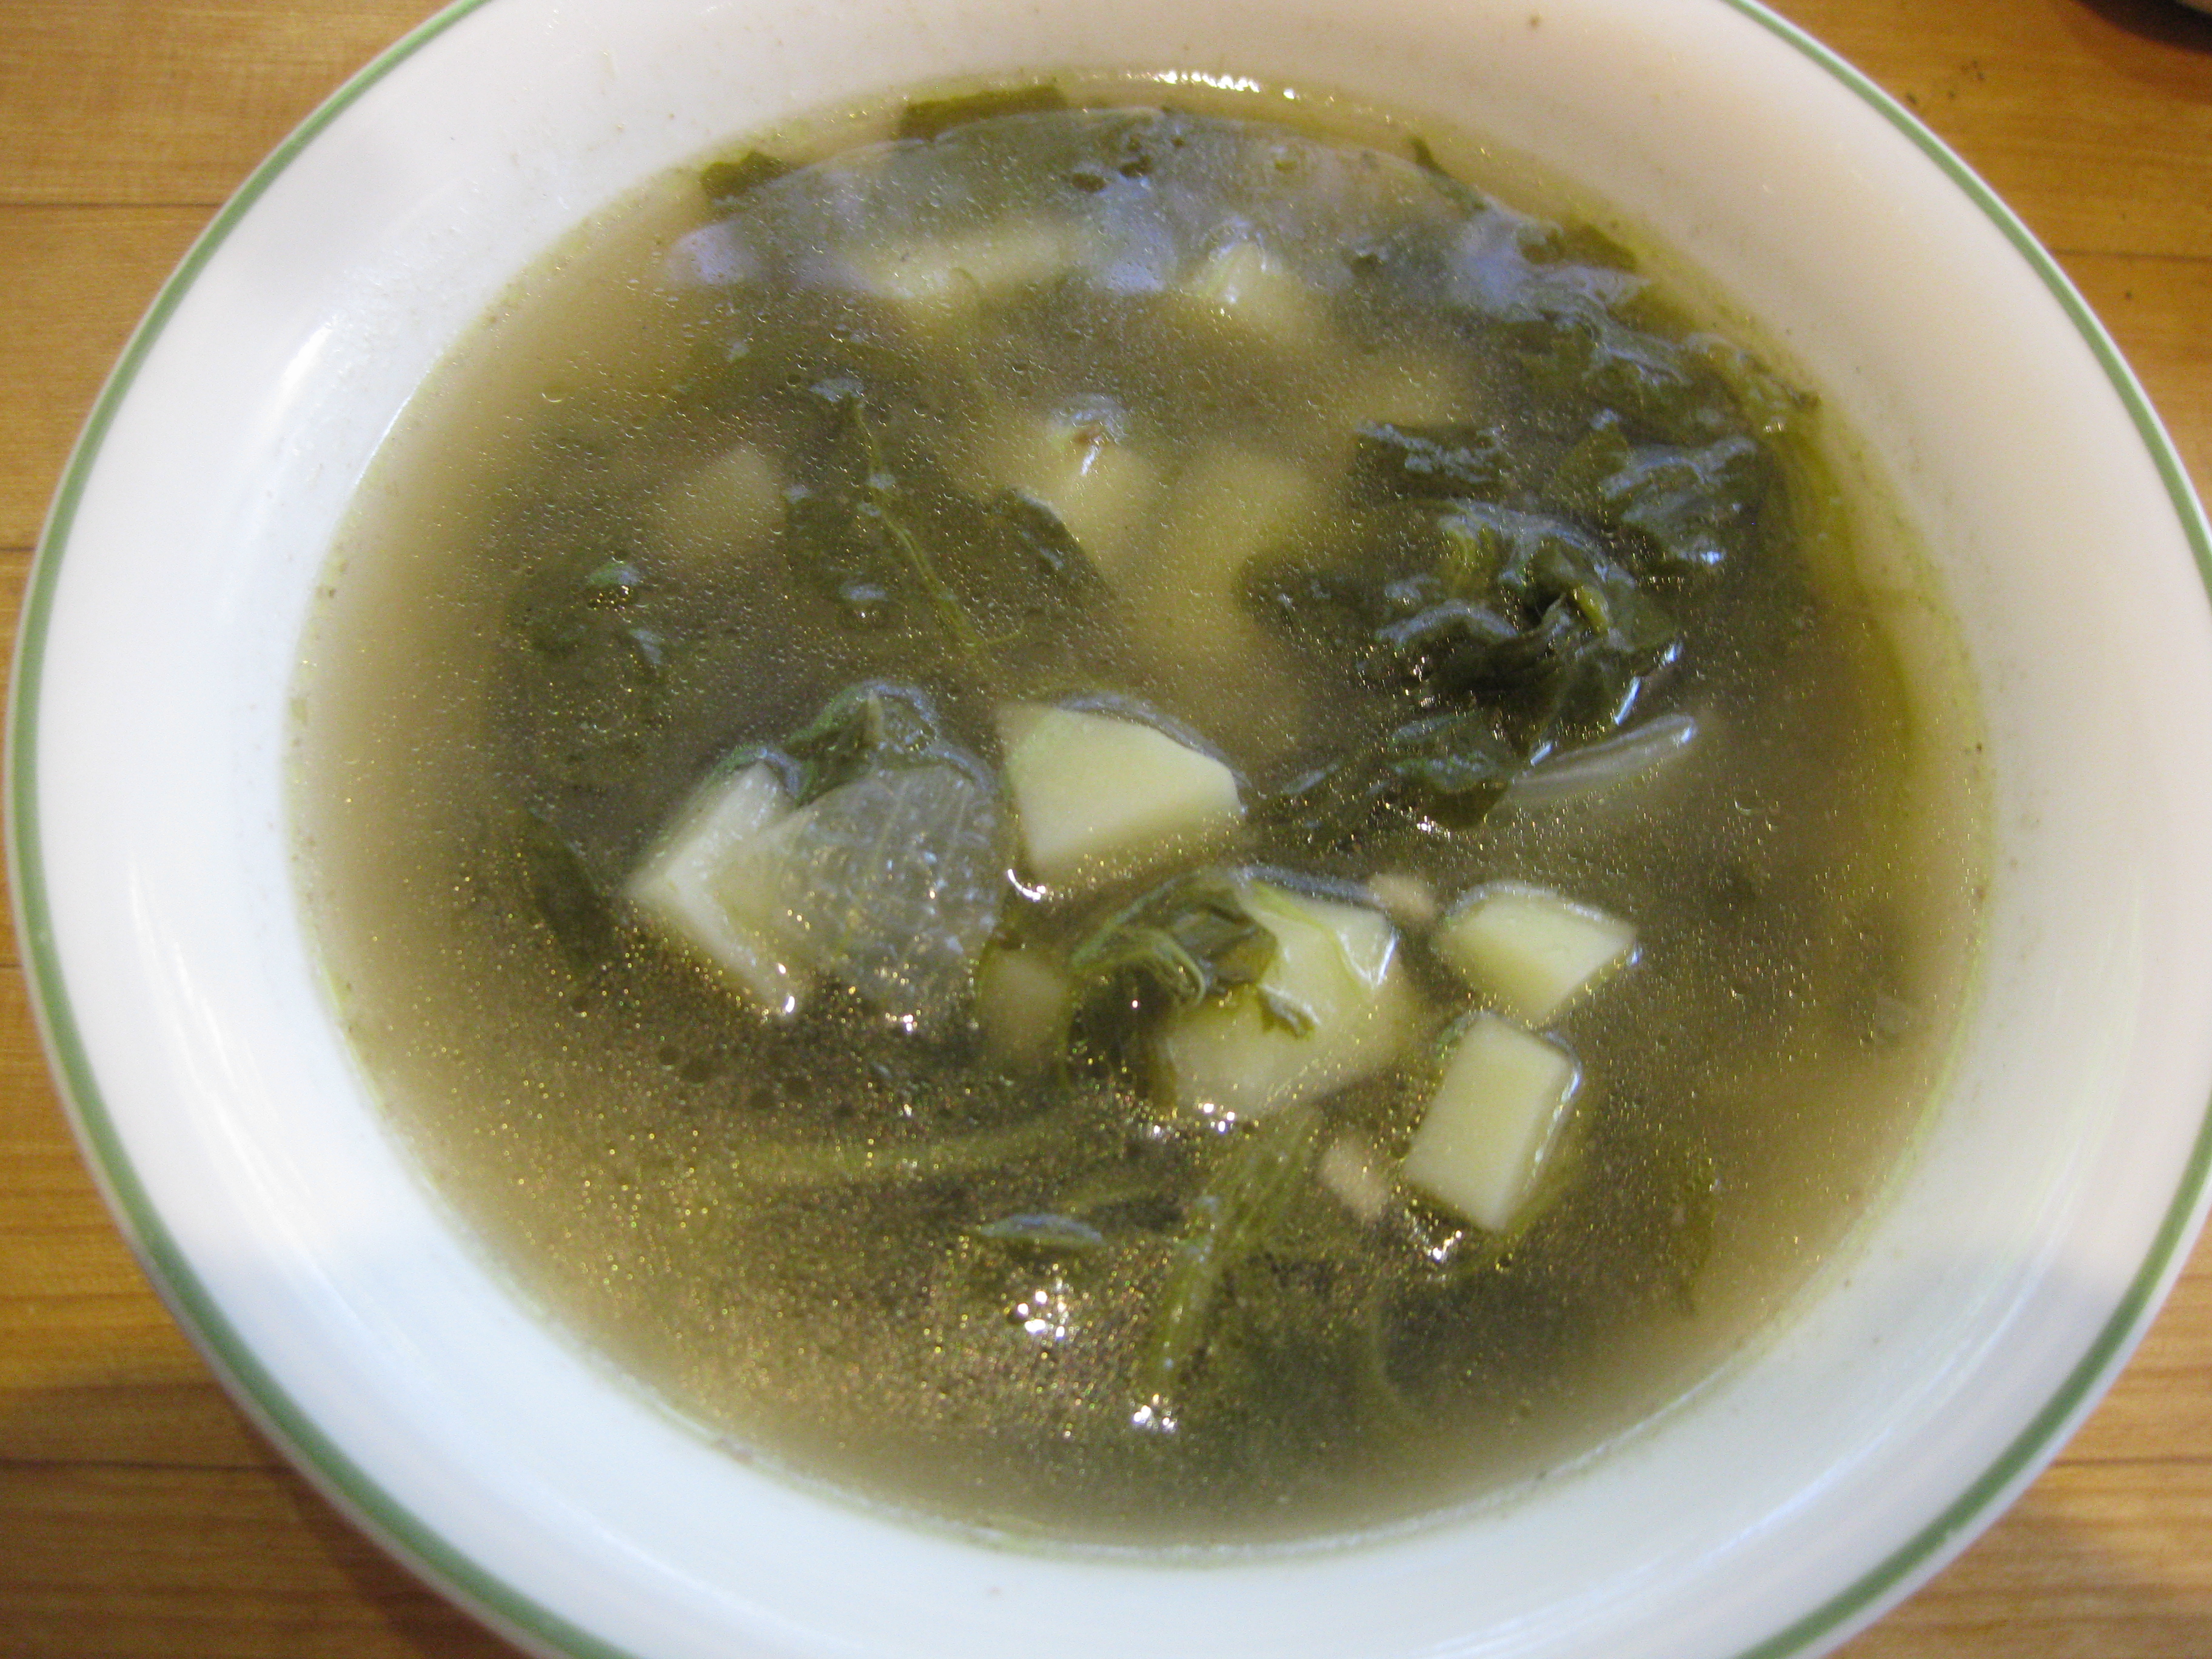
Sorrel soup is easy and versatile. The first time I made it I was out of potatoes so I made sorrel-egg drop soup. My favorite combination of enhancers is potato-capers.
Sorrel soup with potatoes

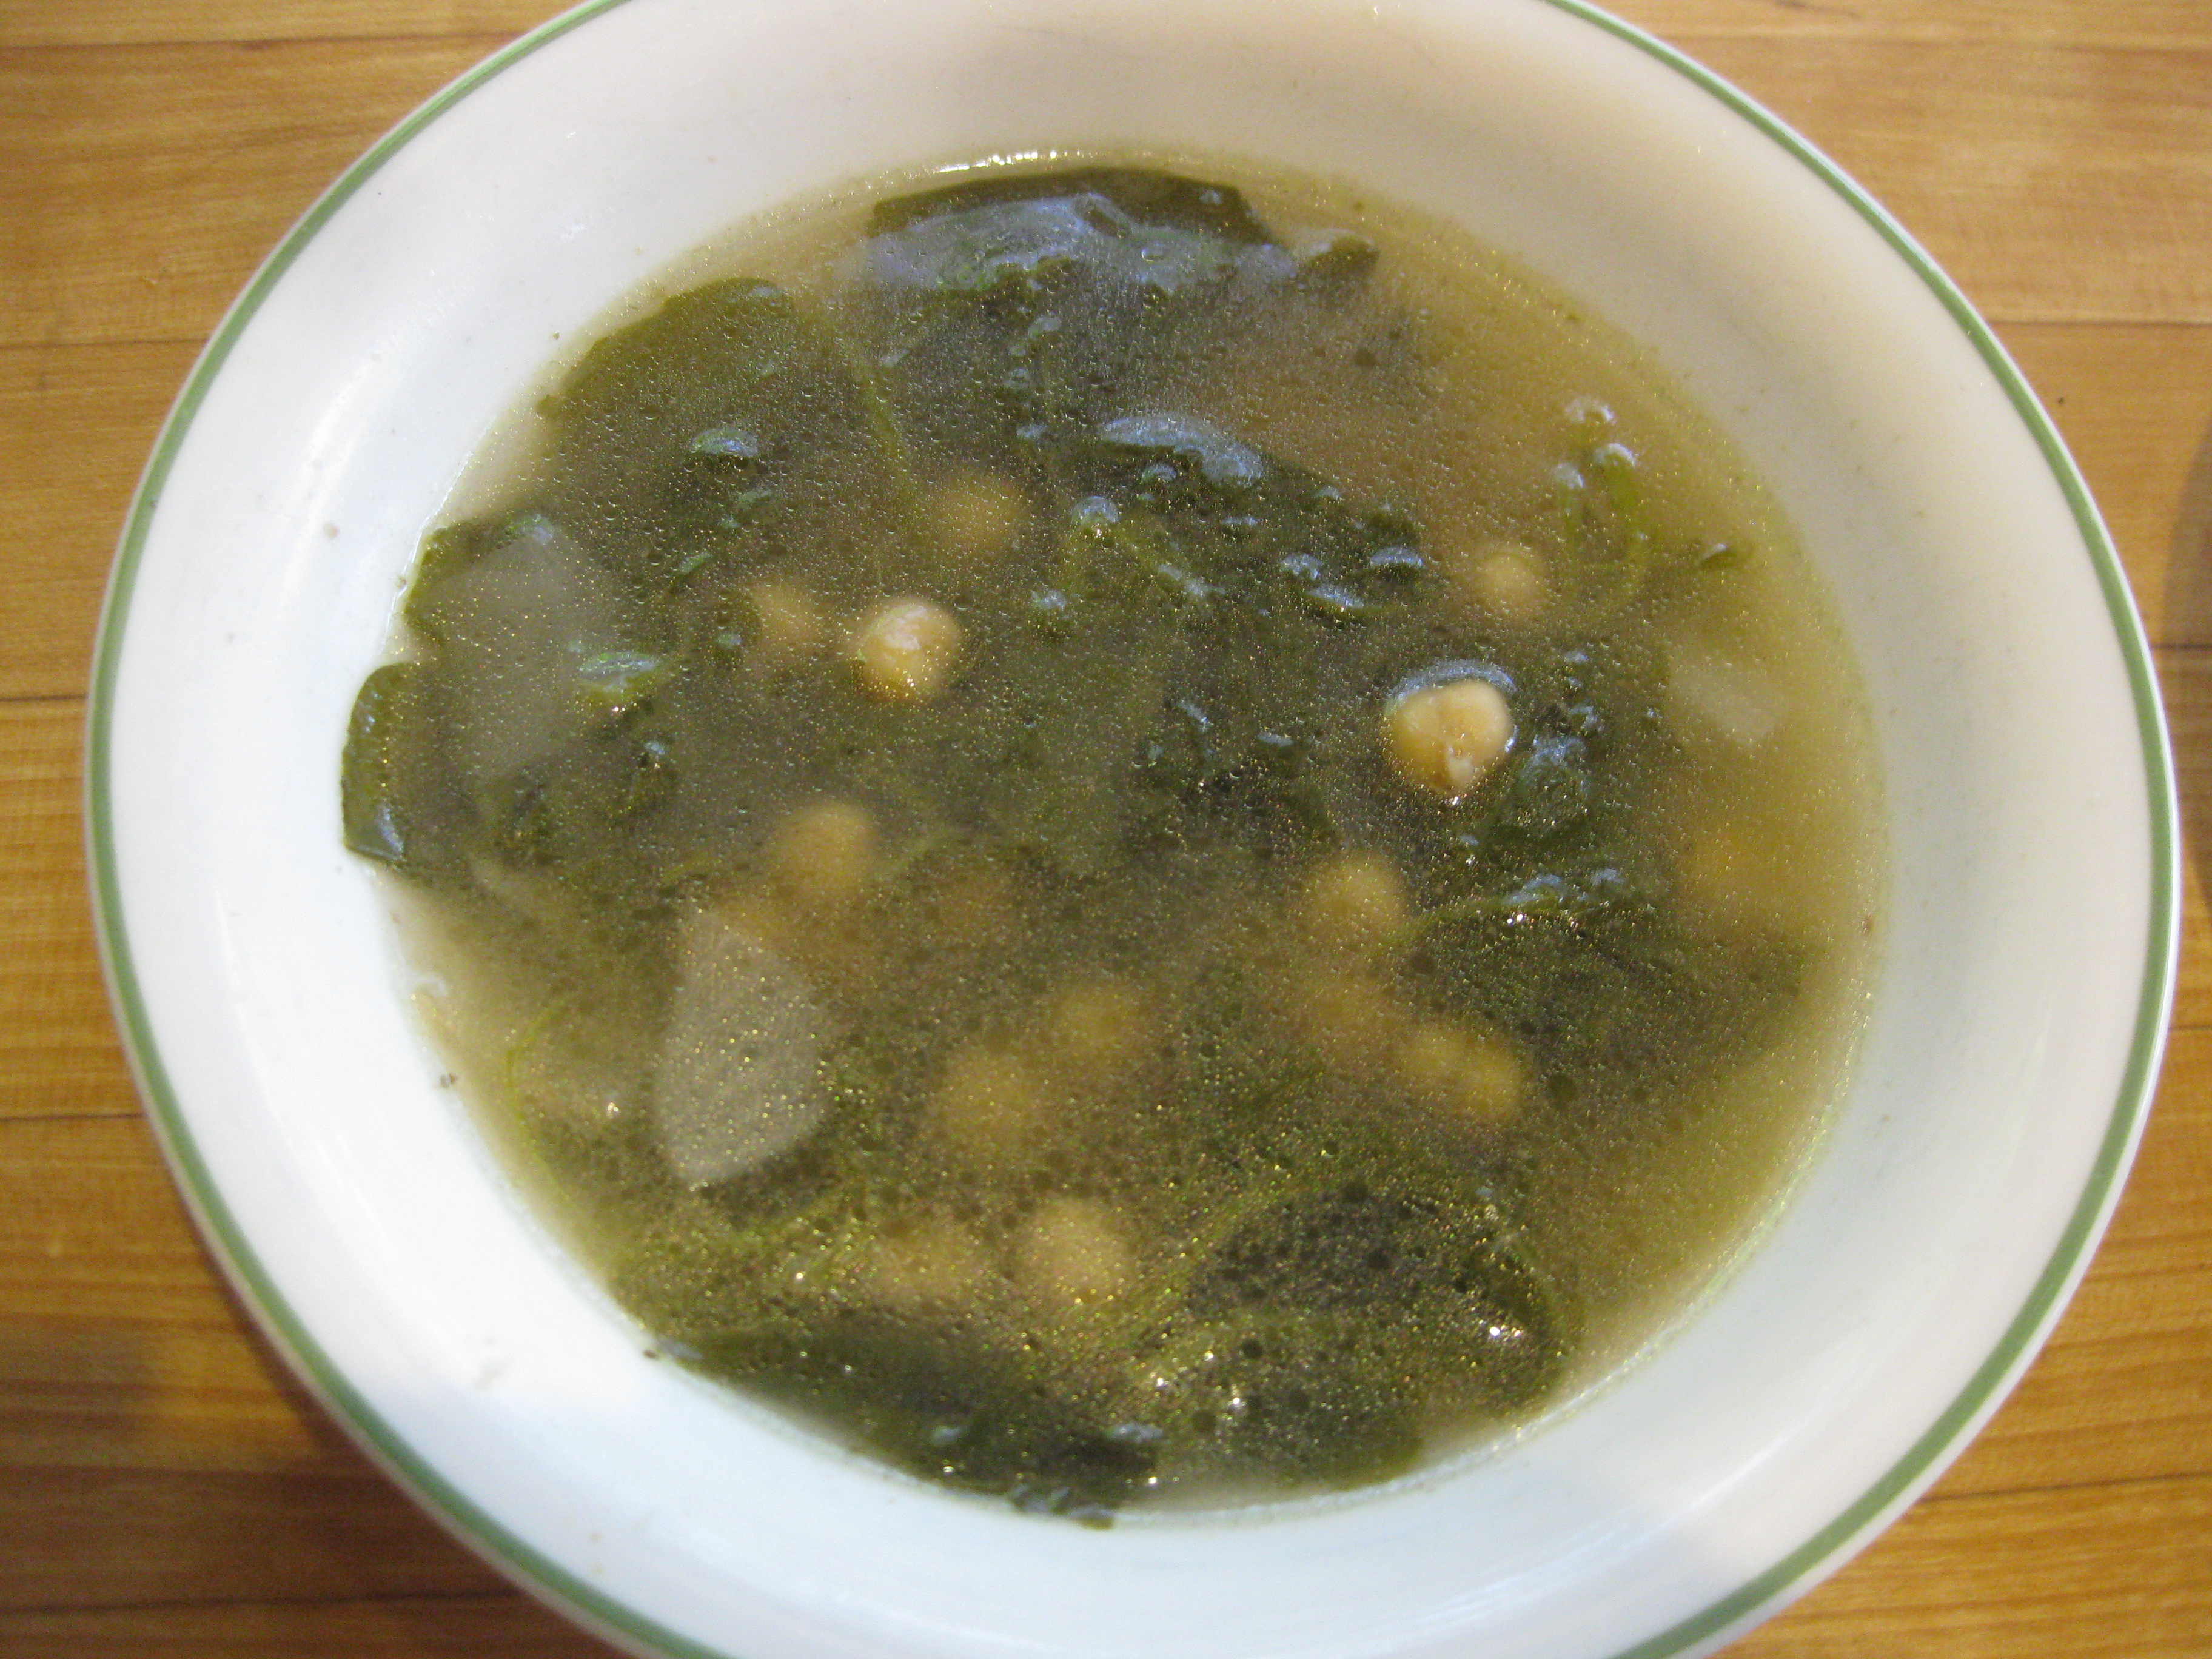
Sorrel soup with chickpeas

Sorrel soup with capers

Sorrel-egg drop soup